A secondary glazing installation programme lives or dies on how well the site work is sequenced. Get the installation method, subframe specification, and site logistics right at the planning stage, and a multi-unit contract runs to programme with minimal disruption to occupants. Get them wrong, and even a technically sound specification turns into a site management problem.
This guide covers the practical decisions contractors and specifiers need to make before installation begins.
Installation Method: Face Fix vs Reveal Fix
The first decision on any retrofit project is installation method, and it affects both the achievable cavity depth and the practical fitting sequence, covered in full in our air gap guide.
Face fix mounts the secondary glazing frame directly onto the wall surrounding the window reveal, using the wall face rather than the reveal itself as the fixing surface. This method typically suits thermal-priority specifications, achieving cavity depths up to 80mm, and works well where the reveal is shallow or irregular in a way that would complicate a reveal fix installation.
Reveal fix sets the frame within the depth of the window reveal, fixing to the sides, head, and cill of the reveal rather than the surrounding wall face. This is the standard method for acoustic-priority specifications, since deeper reveals, common in older solid-wall construction, can accommodate the 150mm to 200mm cavity that optimum acoustic performance requires.
Deep reveal fix extends the reveal fix approach using additional timber subframe where the existing reveal doesn’t provide sufficient depth on its own, allowing an acoustic cavity to be achieved even on buildings with relatively shallow original reveals.
A pre-installation survey should confirm reveal depth on a representative sample of windows before committing to a method across a full contract, since reveal depth can vary noticeably even within a single building, particularly in older or altered structures.
Subframe Specification
Every Granada unit is supplied with a hardwood subframe as standard, pre-drilled and countersunk for fitting, in sizes running from TIM-43×16 up to TIM-90×90 depending on the product and required cavity depth. The subframe serves two functions on site: it positions the secondary glazing frame at the correct depth from the primary window, and it acts as a thermal barrier in its own right, reducing cold bridging between the secondary frame and the surrounding building fabric.
Heavy-duty product variants, including the Heavy-Duty Horizontal Sliding unit specified for installations over 2m in height, require a minimum 62mm subframe rather than the 43mm standard specification, reflecting the additional weight and reinforced interlocker and handle profiles used on these larger units. Confirming which subframe size applies before ordering materials avoids a mismatch discovered on site.
Minimising Occupant Disruption
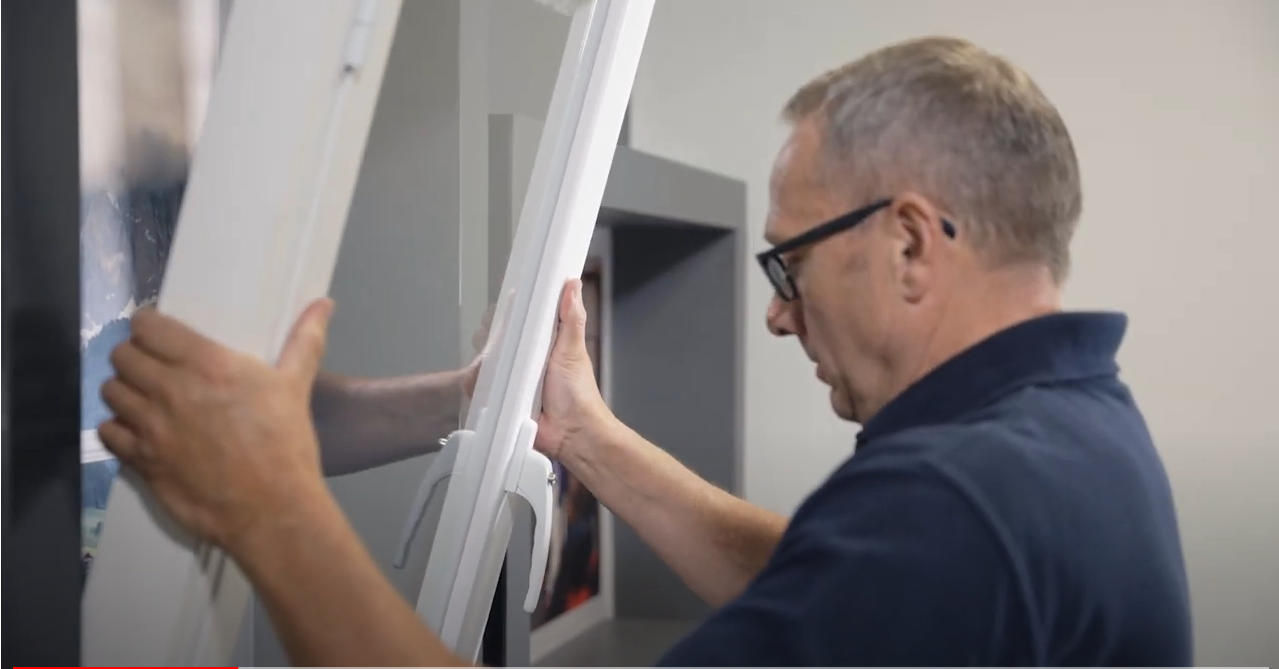
Retrofit secondary glazing is fitted from inside the property, without removing or altering the primary window, which keeps disruption substantially lower than a full window replacement programme. A few practical measures reduce it further on occupied or tenanted properties:
Sequence room by room rather than working across an entire property simultaneously, allowing occupants to retain use of unaffected rooms throughout the contract period.
Confirm access windows in advance for commercial and healthcare settings in particular, where secondary glazing installation may need to work around operational hours, patient care schedules, or business trading periods.
Protect finished surfaces around the reveal or wall face before fitting begins, since the fixing process for both face fix and reveal fix methods involves drilling into the existing surface.
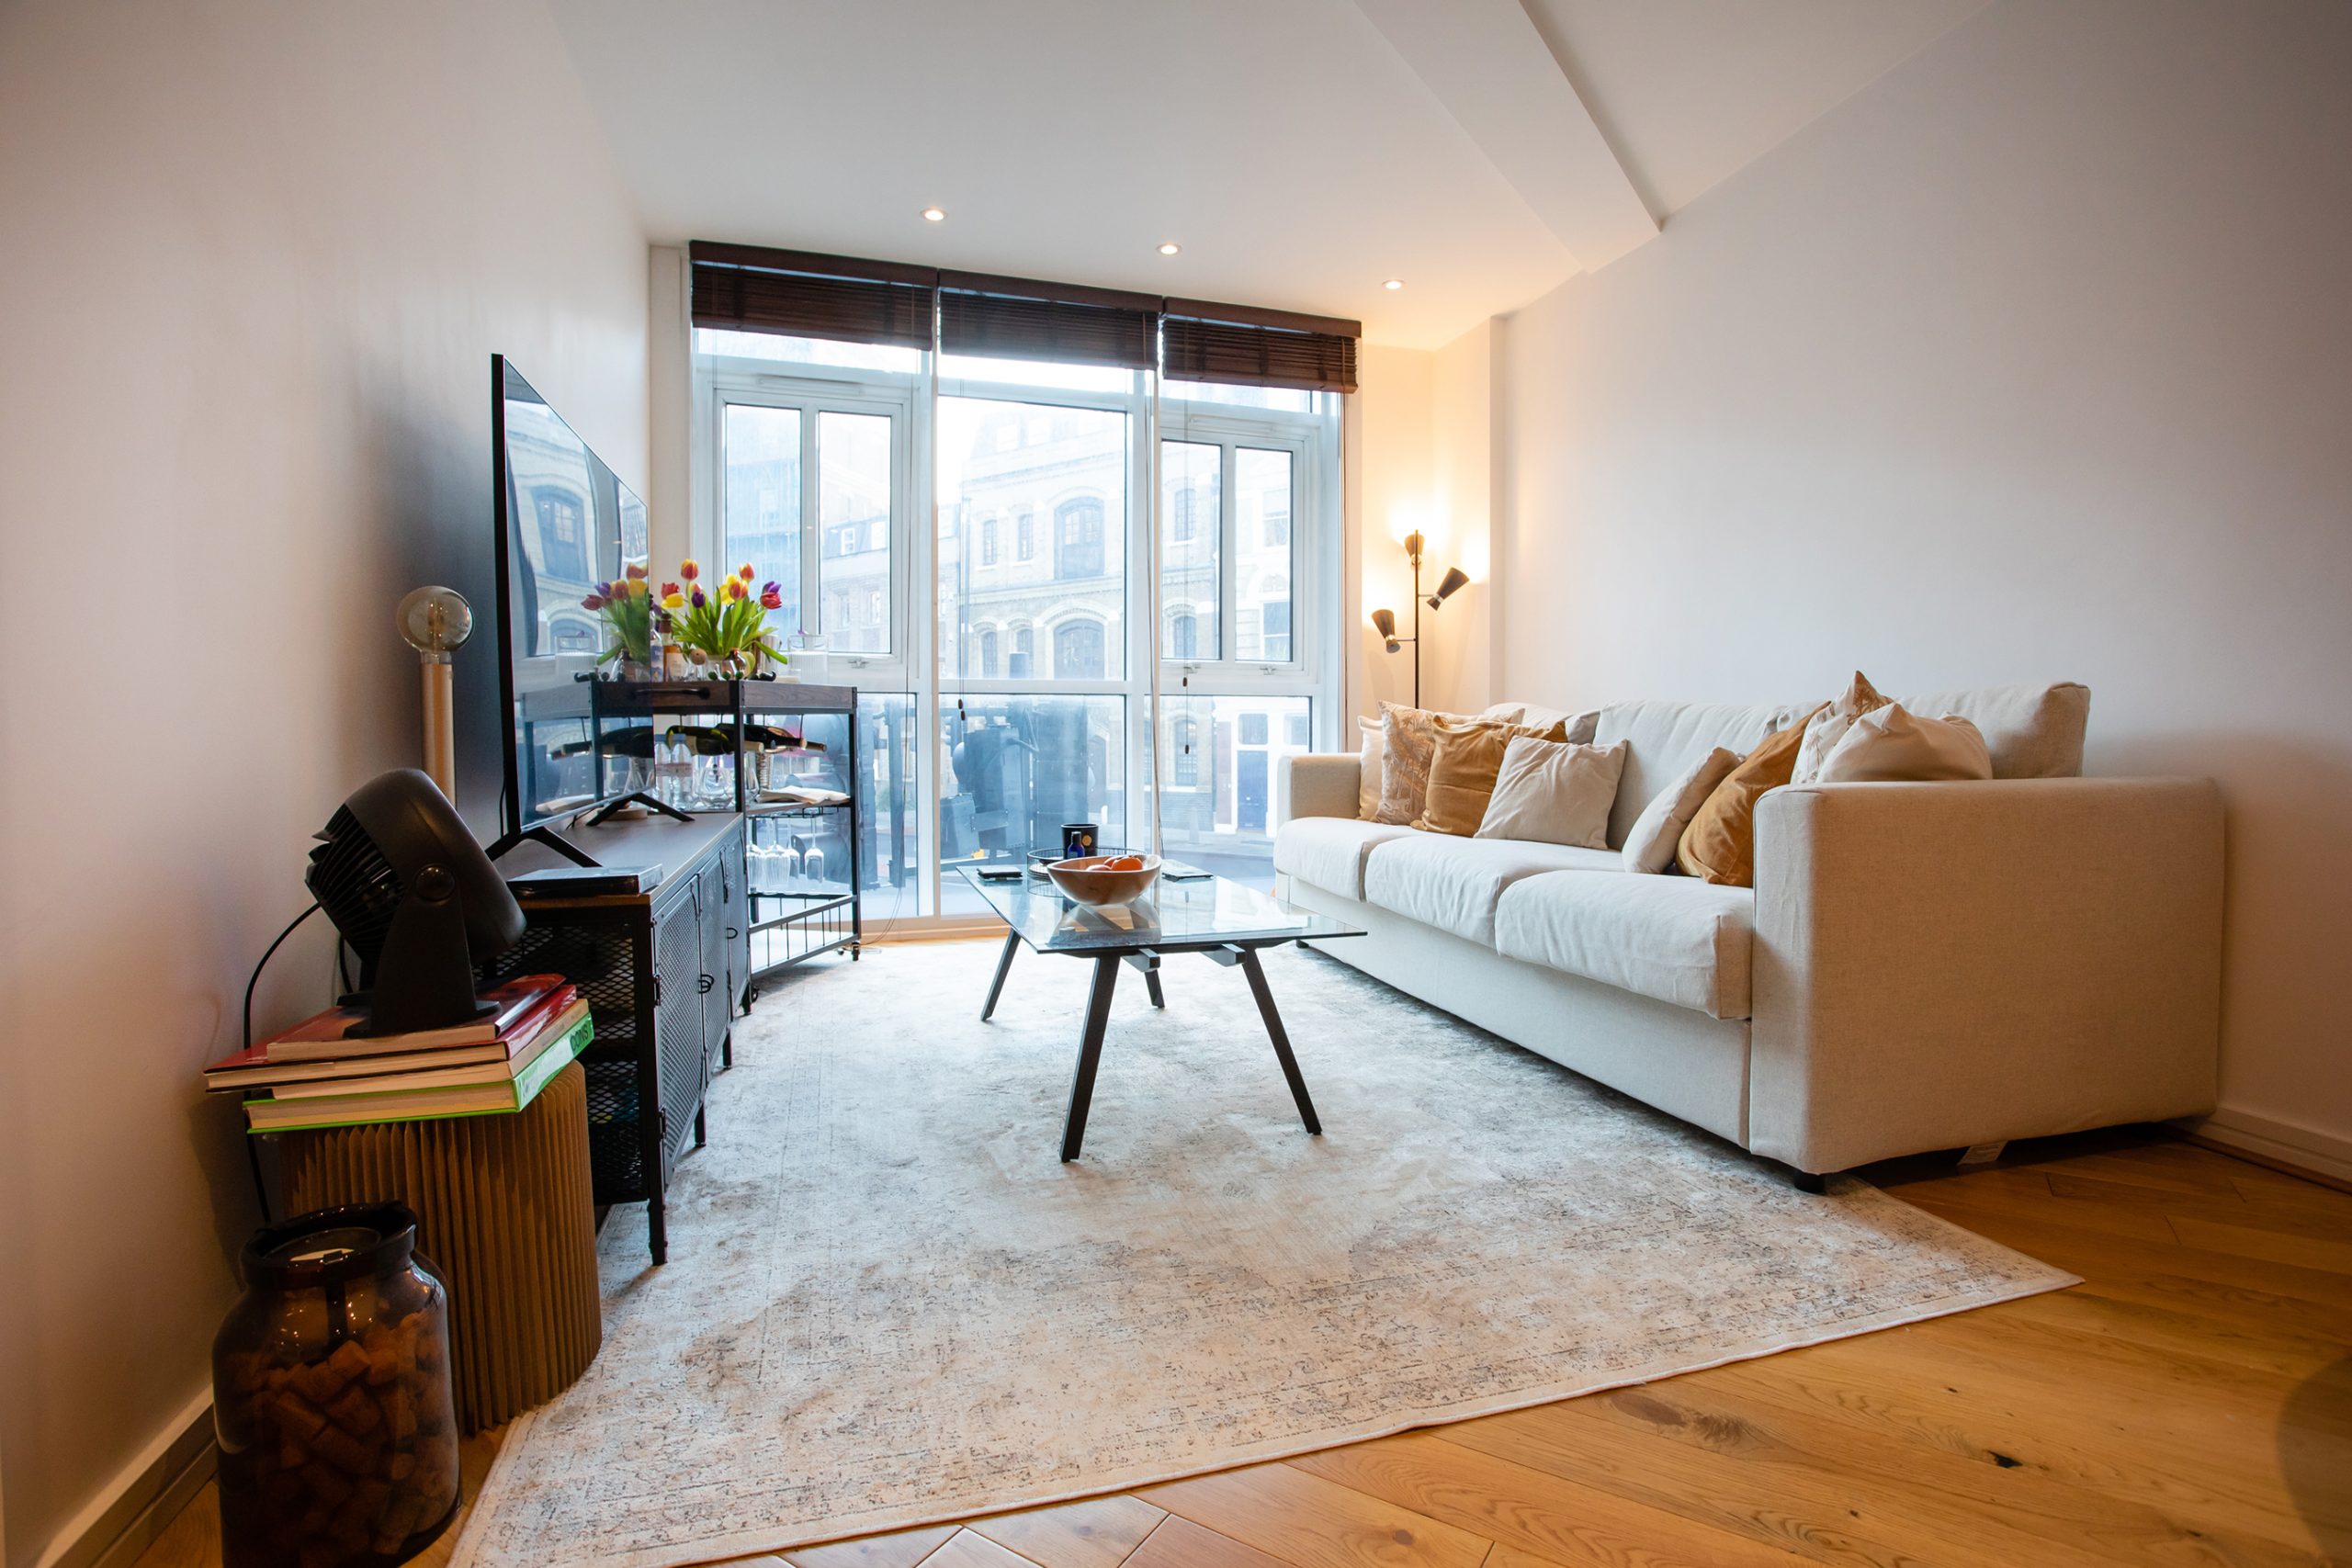
At the Adagio Aparthotel in London, a 132-apartment new-build development, secondary glazing was fitted across roughly 70 of 147 bedrooms, with the installation sequenced around the operational requirements of a live hospitality business, including a specific challenge around curtain-walling primary windows that opened inward, requiring precise panel offsets to avoid conflict with the primary window’s swing.
Managing Programme on Multi-Unit Contracts
Larger contracts, particularly in education, healthcare, and residential heritage settings, benefit from a phased installation approach rather than attempting full completion in a single continuous programme.
At Denby Street Student Accommodation in Sheffield, a £24m project housing over 535 students, Heritage Hinged units stacked on Heritage Lift-Out units were specified with 6mm acoustic laminate glass and a 200mm air cavity, delivering up to 54dB noise reduction across a programme that had to accommodate the practical constraints of a live student accommodation build. At the Hallamshire Hospital’s hyper-acute stroke unit in Sheffield, installation was phased across two stages, Horizontal Sliding units with Low-E glass in Phase 1, followed by Heritage Hinged sealed units in Phase 2, allowing the hospital to maintain operational continuity throughout.
Post-Installation Considerations
Turn-button releases, where specified, should be checked for smooth operation before handover, and any adjustment to opening mechanisms on Horizontal Sliding, Hinged, or Balanced Vertical Slider units carried out at this stage rather than left for a defects period callback.
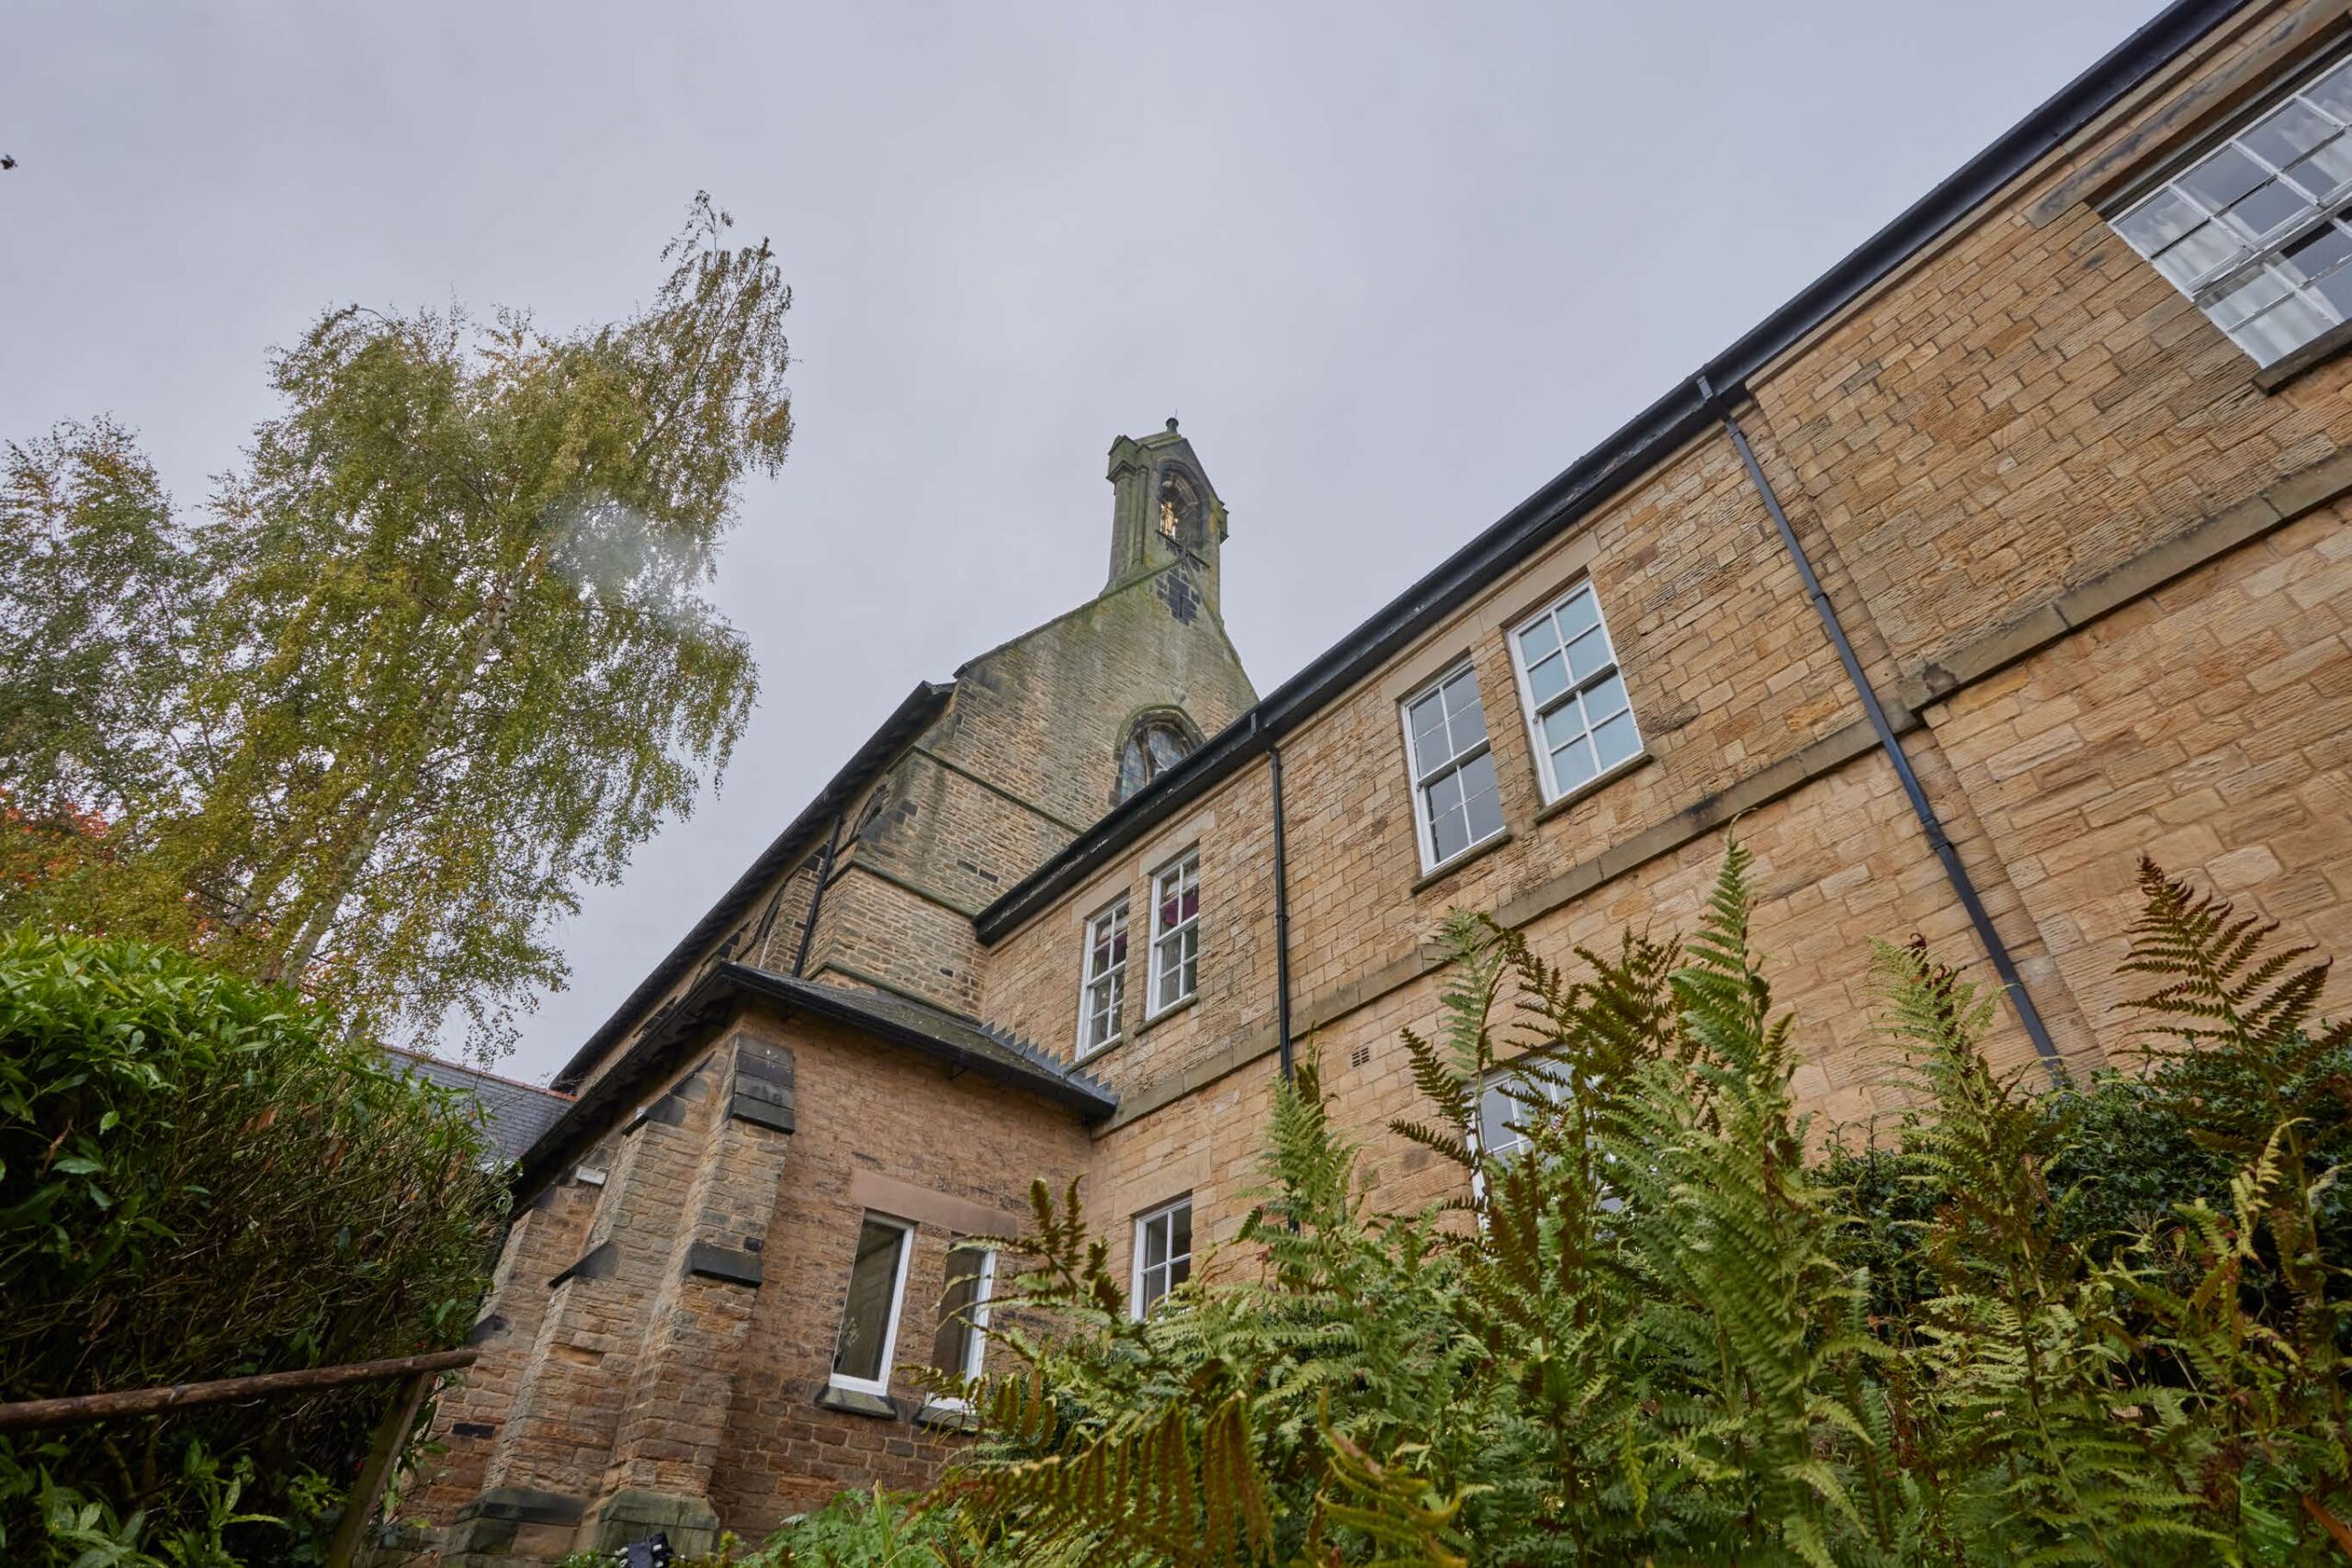
Porchester Court, the Grade II listed Victorian terrace conversion in London’s Bayswater Conservation Area, reported zero snagging across its 36-apartment installation, a result that reflects careful survey work and subframe specification at the planning stage rather than something achieved through remedial work after fitting.
Frequently Asked Questions
How long does a typical secondary glazing installation take per window? Installation time varies by product and site conditions, but most single-window installations complete within a few hours, with a typical domestic or small commercial property completing within one to two days.
Does secondary glazing installation require the primary window to be removed? No. Secondary glazing is fitted independently on the room side of the primary window, which remains in place and unaltered throughout installation.
What determines whether a project uses face fix or reveal fix? The acoustic or thermal priority for the project, combined with the depth and condition of the existing window reveal. Acoustic-priority projects generally use reveal fix for a deeper cavity, while thermal-priority projects commonly use face fix.
Can secondary glazing be installed in an occupied building without disrupting operations? Yes, particularly when installation is sequenced room by room or phased around operational schedules, as demonstrated on healthcare, education, and hospitality projects including the Hallamshire Hospital and Adagio Aparthotel installations.
What subframe size is needed for a heavy-duty installation? A minimum 62mm hardwood subframe is required for heavy-duty product variants, such as Horizontal Sliding units over 2m in height, compared with the 43mm standard specification for typical installations.
Managing a multi-unit secondary glazing contract or need technical guidance on installation method for a specific site? Contact our technical team or explore our technical downloads for full subframe and installation specifications.